Home Giveaways About Me Best Of PR
Showing posts with label Craft Ideas. Show all posts

Wednesday, May 30, 2012

DIY: T-Shirt Scarf in 11 Steps

 Step 1: gather old t-shirts


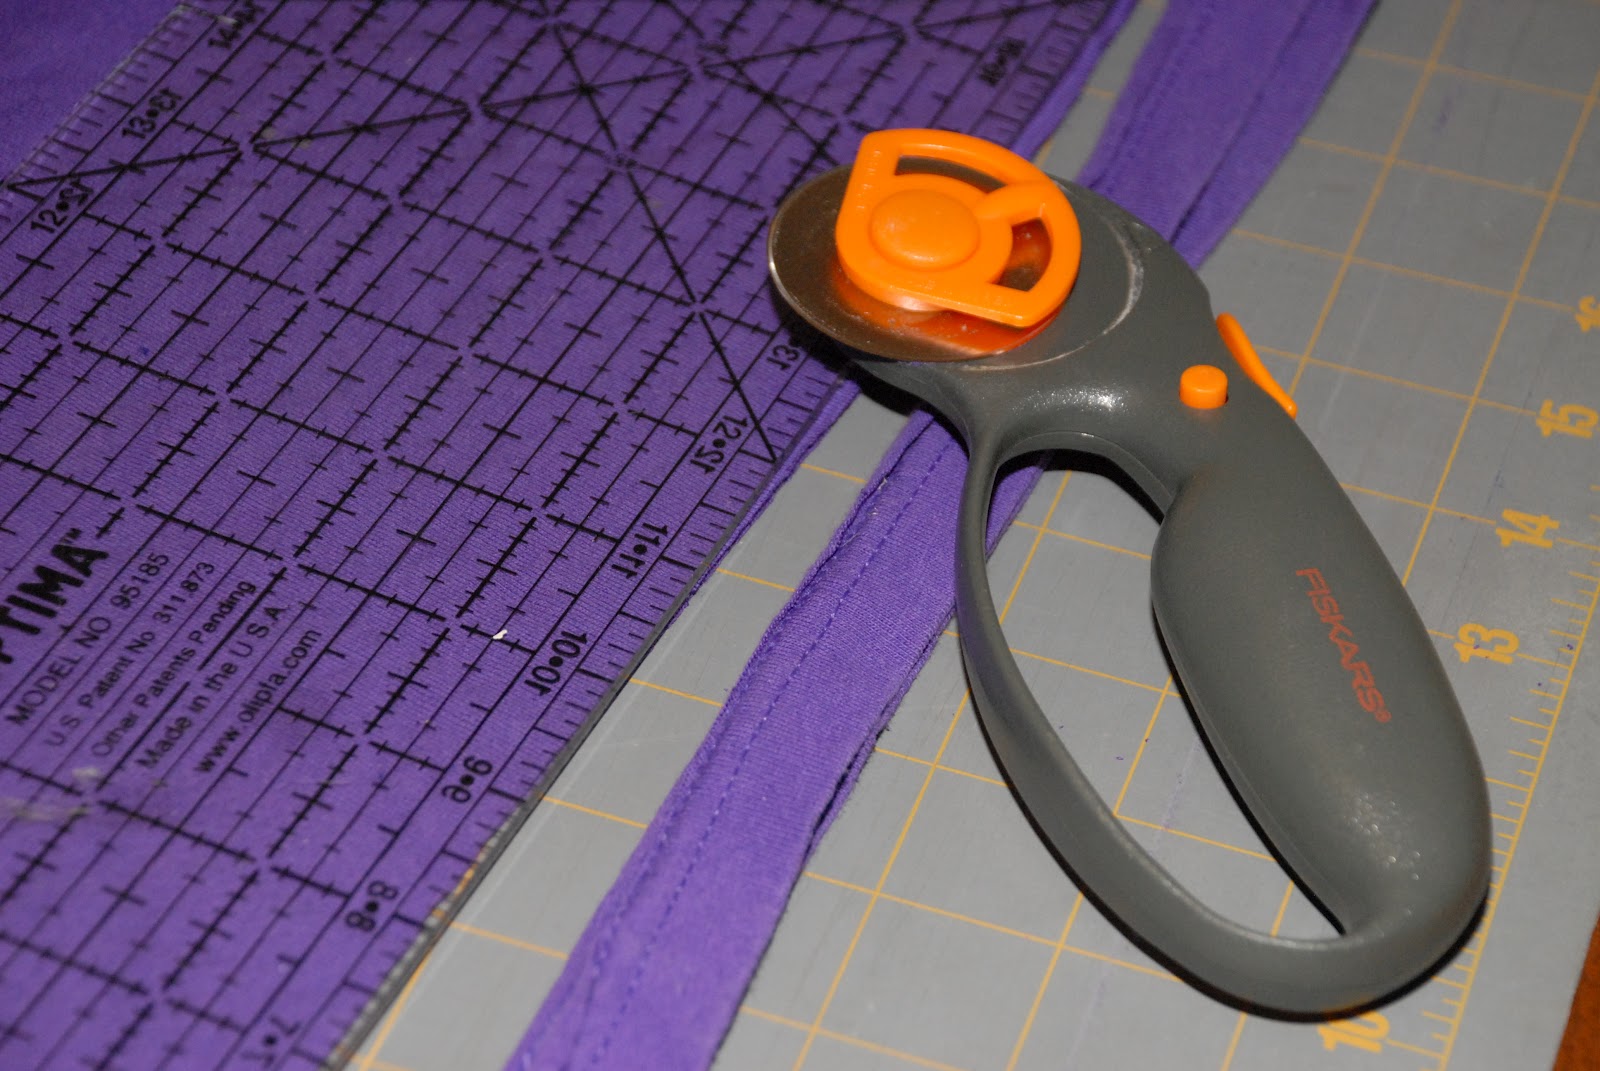
Step 2: cut off the hem of the t-shirt


Step 3: cut t-shirt horizontally into 1" strips from bottom of shirt until you reach the armpits


Step 4: Cut off sleeves


Step 5: cut off the hem of the sleeves
 

Step 6: Taking all of the hems, make one cut in each so that you now have a strip of fabric instead of a ring. Then, cut the strips into 5" long pieces
 

Step 7: Take one t-shirt ring, and stretch it out so that it goes from looking like the top strip to looking like the bottom strip


Step 8: take the now stretched out t-shirt loop and wrap it around your hand (the palm part) and slide it off so that your fabric loop is now stacked in a circle.


Step 9: repeat steps 7 and 8 with all of the t-shirt loops


Step 10:  using one of the 5" strips of hem fabric, tie two of the t-shirt loop stacks together.


Step 11: repeat step 10 until your scarf is the length you want it!


All done! Wear it proudly, you look both classy and fun in this scarf. :) This is also a great way to make a t-shirt garland for special occasions--and it's so easy to clean because all you have to do is throw it in the wash!


Tuesday, February 14, 2012

Valentine Creations

It's Valentine's Day in our home! Thanks to shopping throughout the year for all annual events (saves a lot of money to buy on sale and store in my cupboard!), I was able to whip up a few special things for the kids even at 1am after I'd forgotten to plan ahead of time. Thank God he gave me a creative spirit. ;-) Please don't mind the quality of the photos--they were taken on my phone.

My favorite creation of the night (morning?) was my heart garland. I saw a felt heart garland on Pinterest and just modified it to use paper and a stapler instead of fabric and a sewing machine. Quick and easy, and it's SUPER cute hanging from the dining room entry way!


 At each child's place setting, a special surprise was waiting including a wrapped Valentine themed book, an educational magazine, and a decorated page that we filled out throughout the day with "things we love" about each child. A keepsake!


 One thing I found recently while cleaning out the "everything" room was a box of business cards that was ordered online but never used. I was going to throw them in the recycling bin but decided I should hang onto them because they *may* have a brilliant future...and boy, am I glad I kept them! I created two games using the cards.


First, a numeral recognition/counting game by using glittery textured stickers one one card, and then using a marker to write the numeral on a subsequent card. I couldn't fit more than 8 stickers on a card so that's where I ended, but you could certainly get 10 or 12 if you were using small stickers.


The second game, and also the more popular one, is a matching game. Since all of the "business" sides of the cards are the same, they offer great memory game potential! I used felt stickers that have different layers and edge shapes which provide an added tactile element to the traditional visual memory games. Isn't the Valentine theme darling? Best yet, both of these games store in a small Ziploc bag which means easy clean up and great storage because you can see the contents of the bag!

And of course, a Valentine making station. :) Glitter glue, stickers, paper, heart hold punches, crayons, markers, pom poms...you name it, it was there! Not as big of a hit as I thought it was going to be, though. True to form, toddlers prefer playing outside in the mud as to sitting at a table doing something constructive. Who'da thought, right? ;-)


Happy Valentine's Day! 
...and remember, regardless of your situation or circumstance, you are loved.

For God so loved the world that he gave his only begotten son, that whoever believes in him will never perish, but will have eternal life. John 3:16

Monday, December 5, 2011

Sensory Christmas Basket Centerpiece (A Simple Christmas Project #3)

With small children in the home comes small changes in decorating for the holidays. Glass ornaments get put up higher, trees get anchored to a wall, and good linen might be removed from the table during a particularly stainable meal. Instead of removing your dining table's centerpiece altogether, though, why not make it into something that is festive, interesting, kid friendly, and encourages exploration and development, too!

This year, I created a Sensory Christmas Basket Centerpiece for our dining room table. It's a white wicker basket lined with a red and green dish towel. Laid inside are a host of objects all signifying Christmas time. Cinnamon sticks and scented pinecones create the base for this piece, followed by a variety of other things with various textures, scents, sounds, shapes, and colors. Silver bells that twinkle and ding, soft felt red drums, velvety bows, a bendable wirey silver garland, a bumpy, hard Christmastime teddy bear figurine, and a smooth victorian santa/polar bear ornament round out the basket. It's not only engaging to the eye, but delightful for people of all ages to sort through as they experience all of the different contrasting sensory input!

Easy to create, a great educational spin on decorating, and affordable as all getout because you probably already have everything you need to create your own Sensory Christmas Basket Centerpiece. Remember to include different textures, colors, variations of pressure (hard to soft), reflections of light (like a shiny bell vs. a dull cinnamon stick), scents, and even pieces that the children can manipulate (like the garland I used). Have fun keeping your decorations simple so you can focus on the reason for the season!

Have an idea to create a Simple Christmas of your own? We'd love to feature it on LifeMoreSimply with a link back to your own blog and a little info about you! DIY projects, gift ideas, celebrations, food...anything that helps keep things simple and real for Christmas! Email your write up to: lifemoresimply@yahoo.com with "Simple Christmas Post" in the subject line.